Here’s my interview with Film Courage discussing the first steps to making a documentary. We also discussed ‘Concussed: The American Dream’, the just released new documentary which is now Available on Apple TV, Amazon Prime Video, and on DVD through Amazon.
How To Build A Lightboard | A Roman Family Project
Here’s a quick highlight video building a lighboard for my brothers YouTube channel.

My brother started his own YouTube channel — Eric The Tutor. It’s a work in progress but he first started to create videos through his iPad screen recording tutorials. He wanted to make his channel more personable and entertaining by incorporating a lightboard. He's started a GoFundMe campaign to help towards his goal of building an educational YouTube channel.
His channel will cover physiology, organic chemistry, biochemistry, genetics, and more. Don’t forget to Subscribe!
Episode 5 of the Ray Roman Podcast: How To Start a Podcast
Episode 5 of the Ray Roman Podcast I teach how to start a podcast. It’s as easy as using your mobile device for beginners! For the more advanced you’ll need a sound recorder, video camera and computer system which can run a couple thousand dollars. Below are a list of items mentioned within the podcast that you could purchase to begin your own podcast. If you have any questions feel free to leave a comment!
Sennheiser EW 112P G3-A Lavalier
7 Filmmaking Cameras You Can Get for Under $1,000 (article mentioned within the podcast)
Thanks for listening and don’t forget to ‘Follow’ on SoundCloud if you enjoyed! https://soundcloud.com/rayromanpodcast
Week 16 of TBT for 52 Weeks - Music Video Storyboards
Week by week every Thursday I will reflect on previous experiences I've had creating videos over the years. In Week #16 of TBT for 52 Weeks I talk about music video storyboards I created for Monkeys In Space "Whiskey Kings" back in 2011.
Week 13 of TBT for 52 Weeks - Color Keying

In Week #13 of TBT for 52 Weeks I discuss color keying, cropping, and rotoscoping.
Week 11 of TBT for 52 Weeks - Cropping

In Week #11 of TBT for 52 Weeks I talk about using cropping as a video editing technique to duplicate yourself into a scene multiple times.
Week 6 of TBT for 52 Weeks - Animation
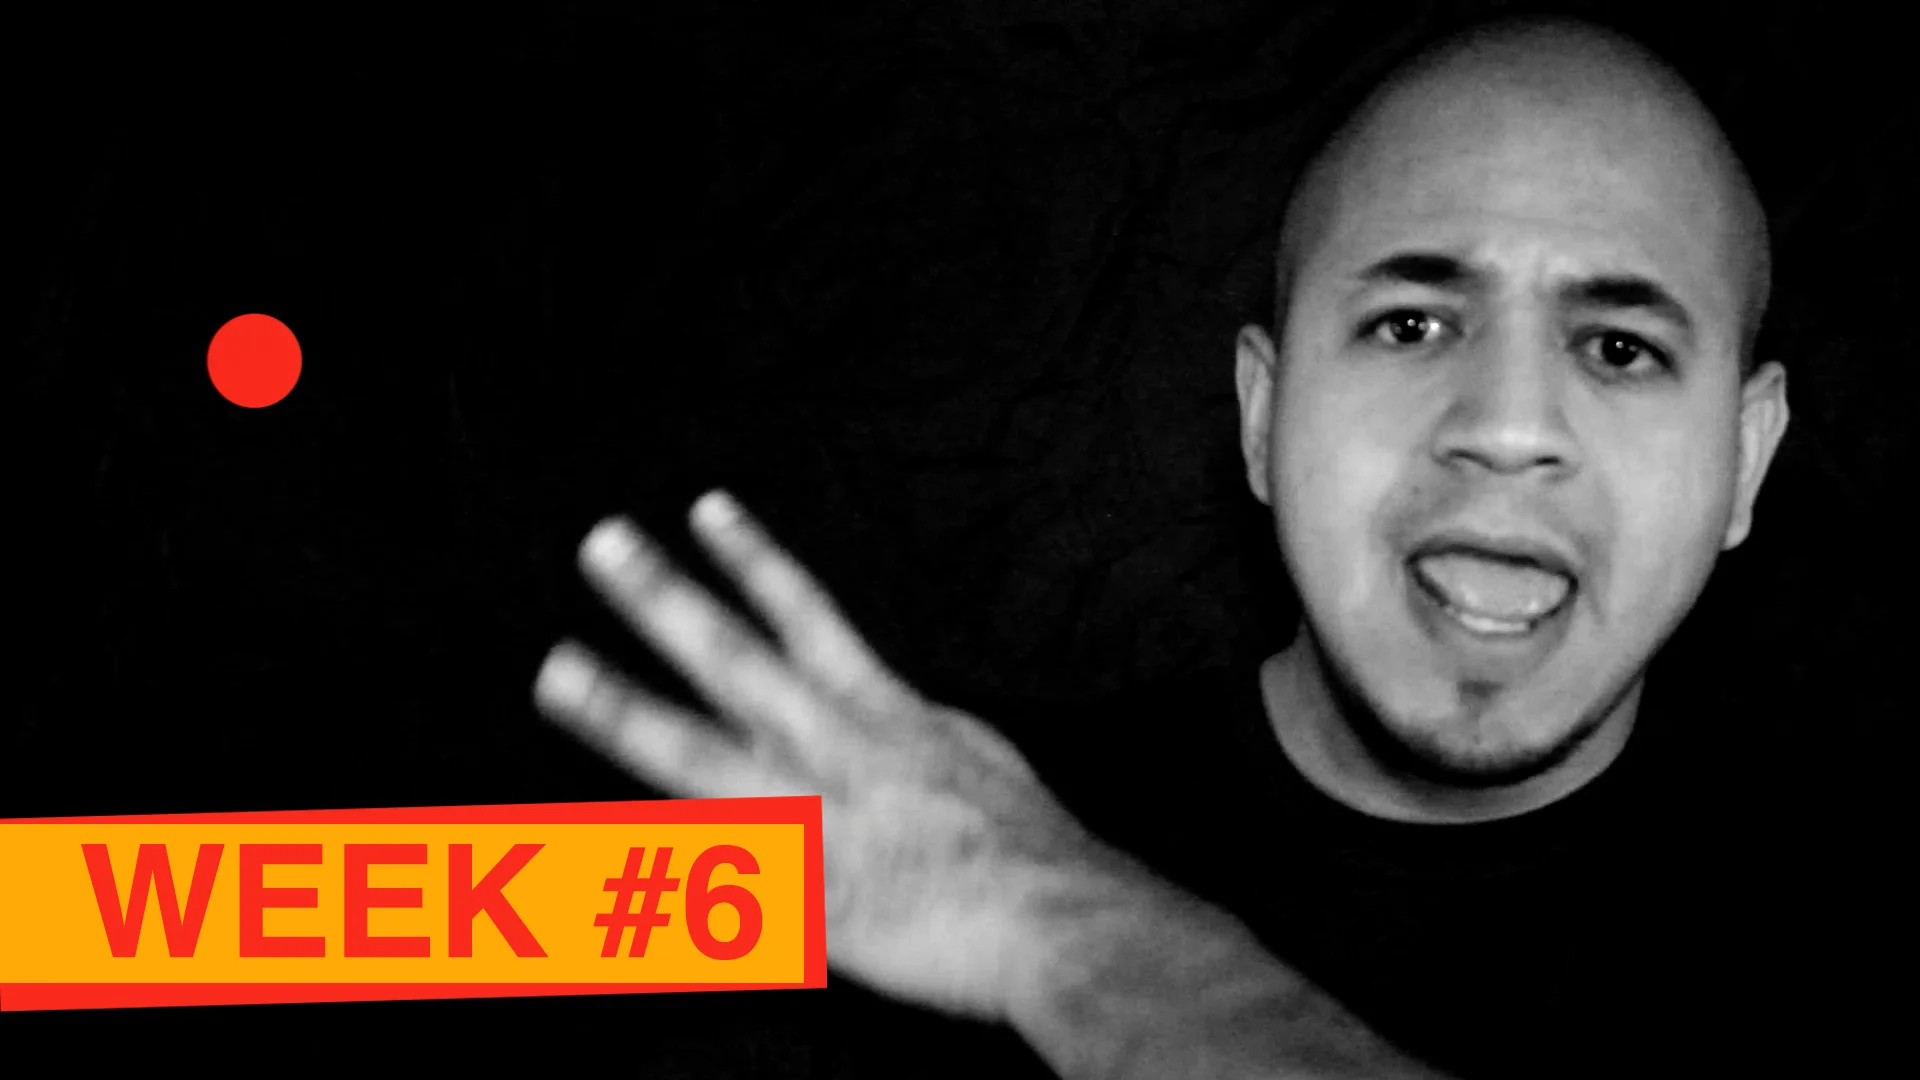
Week by week every Thursday I will reflect on previous experiences I've had creating videos over the years. In Week #6 of TBT for 52 Weeks I talk about "Channel ID for Invent On The Spot". This was created for a YouTube channel called “Invent On The Spot”. Learn more about what a Station ID is and how to create 2D animations using keyframes.
How To Make Whipped Cream
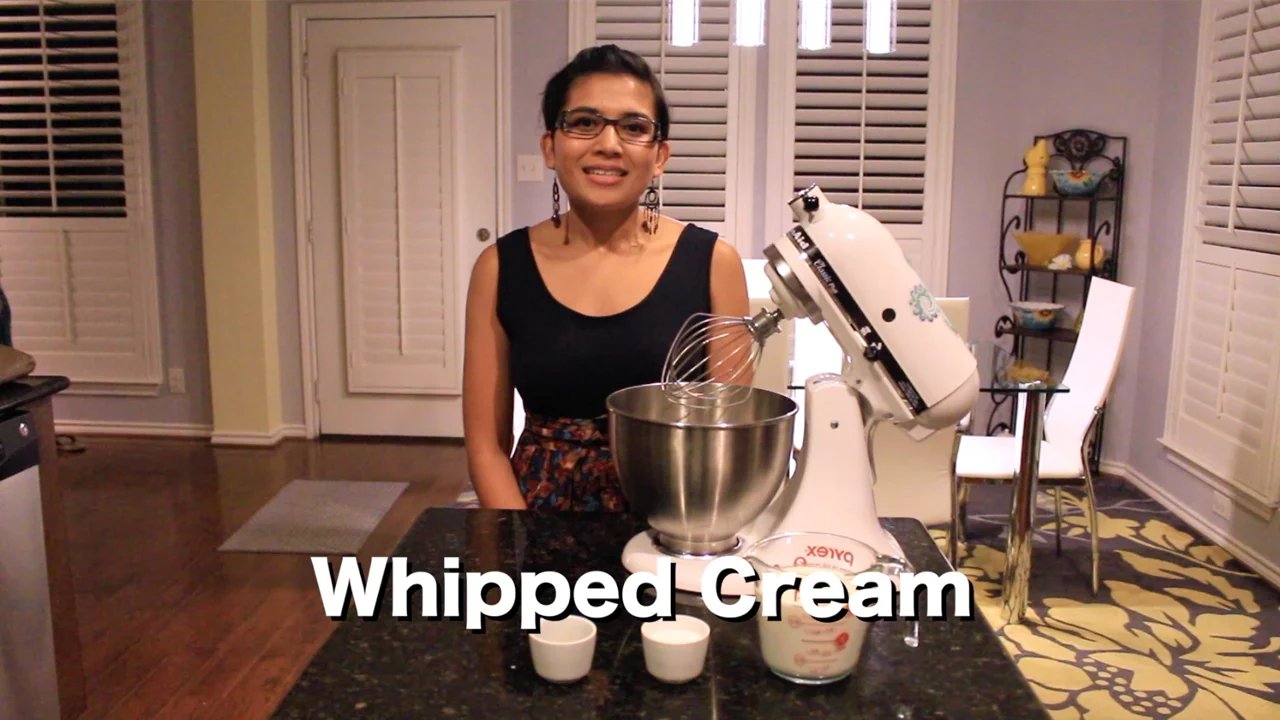
This is a "How To" cooking video I created for my cousin. Stay tuned as she plans on launching her own channel soon!
Ray Roman Reviews (Channel Ad)
I'll be unboxing, and reviewing products and give you instructional how to videos on products as well! Subscribe to Ray Roman Reviews at http://youtube.com/subscription_center?add_user=rayromanreviews
How To Shrink Wrap DVD's For Sale, or Repackaging with the Impulse Sealer
This is an instructional video of how to shrink wrap your DVD's, and package or repackage other items. The steps are listed below:
1. Insert your DVD into the 6x9 inch PVC Heat Shrink Film Wrap Flat Bag.
2. Place your shrink wrapped item in place on the Impulse Sealer.
3. If necessary adjust the timer setting to what will work best for sealing your packaging material.
4. Push down on the Impulse Sealer arm and wait for the red timer light to turn-off.
5. If you did not remove the excess shrink wrap after the red light turned off, grab a pair of scissors and cut just outside of the sealed item.
6. Use the heat gun to apply heat to your shrink wrapped item. In my experience it has been best to start from the opening side of the DVD, move along to the top, and finally the bottom. It's not necessary to go over the 4th side, if you chose to do so it may cause wrinkling on the front and back the shrink wrapped DVD.
I hope this helps, if you have any further questions please leave a comment!
Find these items on Amazon at the following links!
12" Impulse Sealer: http://amzn.com/B000UYC55O
500 Pcs 6x9 Inch PVC Heat Shrink Film Wrap Flat Bag: http://amzn.com/B00V7K9RME